

India customers to view on amazon.in
DIY Cat Scratchers That Save You Money
As a cat owner, you’re likely familiar with the frustration of watching your furniture succumb to your pet’s scratching habits. Replacing damaged items can be costly, but there’s a budget-friendly solution: making your own homemade cat scratcher.
- Understanding Cat Scratching Behavior and the DIY Alternative
- Why Cats Need to Scratch: Natural Instincts Explained
- The High Cost of Commercial Cat Scratchers
- Financial and Customization Benefits of DIY Scratchers
- Essential Materials and Tools for Budget-Friendly Cat Scratchers
- Basic Materials: Cardboard, Sisal, Rope, and Wood
- Tools You’ll Need: From Basic to Advanced
- Sourcing Free and Low-Cost Materials in Your Community
- Quick and Easy Cardboard Cat Scratchers
- 30-Minute Cardboard Scratch Pad Tutorial
- Weekend Project: Multi-Level Cardboard Scratch Box
- Creative Cardboard Wave and Tunnel Scratchers
- DIY Cat Scratchers That Save You Money: Rope and Sisal Projects
- Step-by-Step Guide to Sisal-Wrapped Posts
- Space-Saving Door-Hanging Rope Scratchers
- Replacing Carpet with Sisal: Stair and Wall Scratchers
- Wooden Cat Scratcher Projects for Different Skill Levels
- Beginner-Friendly Wooden Scratch Board with Angled Design
- Intermediate Project: Wooden Cat Tree with Multiple Scratching Surfaces
- Advanced Build: Combination Window Perch and Vertical Scratcher
- Upcycled and Recycled Materials for Eco-Friendly Cat Scratchers
- Transforming Old Furniture into Premium Cat Scratchers
- Creative Uses for Carpet Remnants and Samples
- From Trash to Treasure: Unexpected Materials for Cat Scratchers
- Maintenance and Longevity of Your Homemade Cat Scratchers
- Extending the Life of Cardboard Scratchers
- Refreshing and Repairing Rope and Sisal Projects
- When to Replace vs. When to Refurbish
- Training Your Cat to Use Their New DIY Scratcher
- Strategic Placement: Location Matters for Success
- Effective Use of Catnip, Silvervine, and Other Attractants
- Positive Reinforcement Techniques for Scratch Training
- Conclusion: Protecting Your Furniture While Saving Money
- FAQ
- What are the benefits of using DIY cat scratchers?
- How do I choose the right material for my DIY cat scratcher?
- Can I use old furniture to make a cat scratcher?
- How do I train my cat to use a new DIY scratcher?
- How often should I replace or refurbish my cat’s scratcher?
- Are DIY cat scratchers suitable for cats of all ages?
- Can I make a cat scratcher without any special tools?
Creating a DIY scratching post not only saves you money but also allows you to tailor it to your cat’s preferences. By repurposing materials like cardboard, sisal rope, or reclaimed wood, you can create a scratching surface that’s both durable and appealing to your pet.
Key Takeaways
- Create a cost-effective solution for your cat’s scratching needs.
- Customize the scratcher to your cat’s preferences.
- Repurpose materials to save money and reduce waste.
- Make a durable and appealing scratching surface.
- Enjoy the satisfaction of creating something for your pet.
Understanding Cat Scratching Behavior and the DIY Alternative
Cat scratching is a natural behavior that serves multiple purposes, from marking territory to maintaining nail health. Cats scratch to remove the dead outer layer of their nails, to mark their territory with scent glands in their paws, and to stretch and flex their muscles.
Why Cats Need to Scratch: Natural Instincts Explained
Cats have an innate instinct to scratch, a behavior that is essential for their physical and emotional well-being. Scratching helps cats to maintain their nail health by shedding old nail cells and exposing new ones. It also allows them to mark their territory, leaving both a visual mark and a scent that signals to other cats. Furthermore, scratching is a form of exercise that helps cats stretch and flex their muscles, particularly in their back, legs, and paws.
The High Cost of Commercial Cat Scratchers
While it’s clear that cats need to scratch, the cost of providing them with suitable scratching surfaces can be prohibitive. Commercial cat scratchers can range from moderately priced to very expensive, depending on the material, size, and brand. For example, a basic cat scratching post might cost between $20 to $50, while more elaborate cat trees or scratching pads can cost upwards of $100 or more.
| Type of Scratcher | Price Range |
|---|---|
| Basic Cat Scratching Post | $20-$50 |
| Mid-Range Cat Tree | $50-$100 |
| Premium Cat Scratching Pad | $100-$200 |
Financial and Customization Benefits of DIY Scratchers
Creating your own DIY cat scratcher can be a cost-effective and customizable solution. By repurposing materials like cardboard, sisal rope, or wood, you can create a scratching surface that meets your cat’s needs without breaking the bank. DIY scratchers also offer the flexibility to tailor the size, shape, and material to your cat’s preferences, potentially saving you money and reducing waste.
Essential Materials and Tools for Budget-Friendly Cat Scratchers
Making your own cat scratchers can be a fun and cost-effective way to keep your cat happy and healthy. To get started, you’ll need some basic materials and tools.
Basic Materials: Cardboard, Sisal, Rope, and Wood
The most common materials used for DIY cat scratchers are cardboard, sisal, rope, and wood. Cardboard is a great starting point because it’s inexpensive and easily accessible. Sisal and rope provide a durable scratching surface that cats love, while wood offers a sturdy base for more complex projects.
When choosing materials, consider your cat’s preferences and your budget. For example, if your cat likes to scratch vertically, a sisal-wrapped post or a wooden scratcher might be the best option.
Tools You’ll Need: From Basic to Advanced
The tools required for DIY cat scratchers range from basic to advanced, depending on the complexity of the project. Basic tools include scissors, glue, and a utility knife, while more advanced projects might require a drill, saw, or sander.
It’s essential to have the right tools to ensure your cat scratcher is sturdy and safe for your cat to use.
Sourcing Free and Low-Cost Materials in Your Community
One of the benefits of making your own cat scratchers is the ability to source materials at little to no cost. You can often find suitable materials at home, such as old cardboard boxes or leftover rope. Additionally, you can check local online selling groups or community boards for people giving away free materials.
By being resourceful, you can create a variety of budget-friendly cat scratchers that your cat will love.
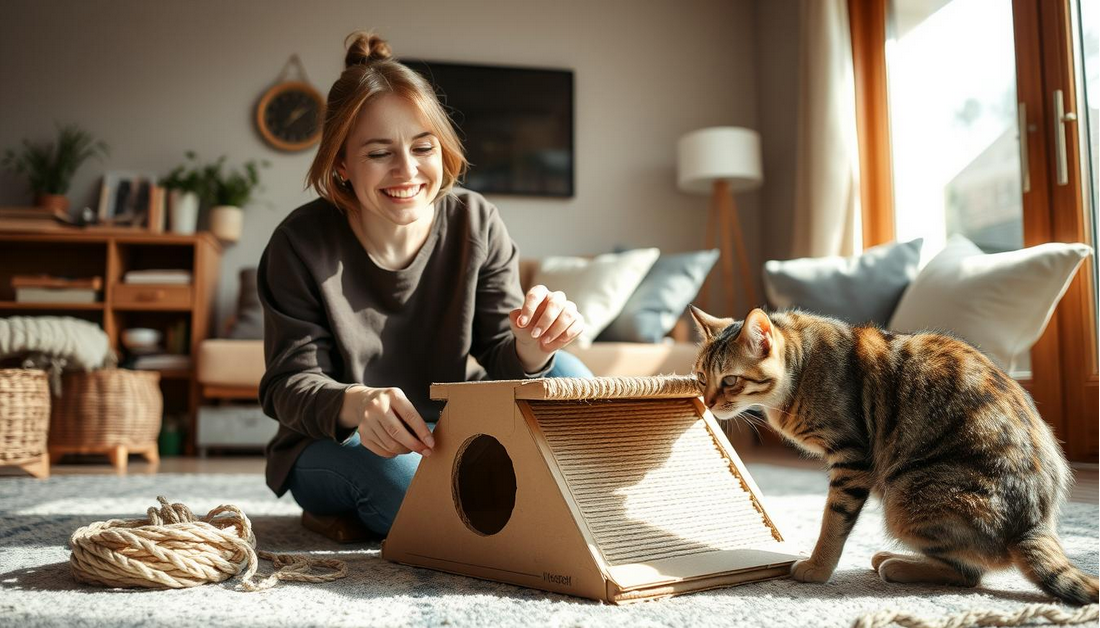
Quick and Easy Cardboard Cat Scratchers
If you’re looking for a quick and easy way to satisfy your cat’s scratching instinct, consider making a cardboard cat scratcher. Cardboard is an inexpensive and readily available material that can be transformed into a variety of scratching surfaces for your cat.

30-Minute Cardboard Scratch Pad Tutorial
Creating a simple cardboard scratch pad is a quick and straightforward process. Start by gathering a few pieces of cardboard and cutting them into a uniform size. Stack the cardboard pieces together, securing them with glue or tape. To make it more appealing to your cat, you can sprinkle some catnip on the surface. This project is perfect for those who are short on time or new to DIY.
Weekend Project: Multi-Level Cardboard Scratch Box
For a more elaborate project, consider building a multi-level cardboard scratch box. This involves cutting out various shapes and sizes from cardboard boxes and stacking them to create a multi-tiered structure. You can use glue, tape, or even staples to hold the structure together. The multiple levels provide your cat with different scratching angles and surfaces, keeping them engaged and active.
Creative Cardboard Wave and Tunnel Scratchers
Cardboard can also be used to create more complex scratching structures like wave and tunnel scratchers. By corrugating the cardboard or cutting it into wavy patterns, you can create a unique scratching surface that mimics natural textures. For tunnel scratchers, simply roll the cardboard into a tube shape and secure it. These creative scratchers not only save you money but also provide your cat with a stimulating environment.
Some benefits of using cardboard for cat scratchers include:
- Ease of availability and affordability
- Customizability to fit your cat’s preferences
- Environmental benefits from repurposing cardboard waste
By choosing cardboard as a material for your DIY cat scratcher, you’re not only saving money but also contributing to a more sustainable lifestyle.
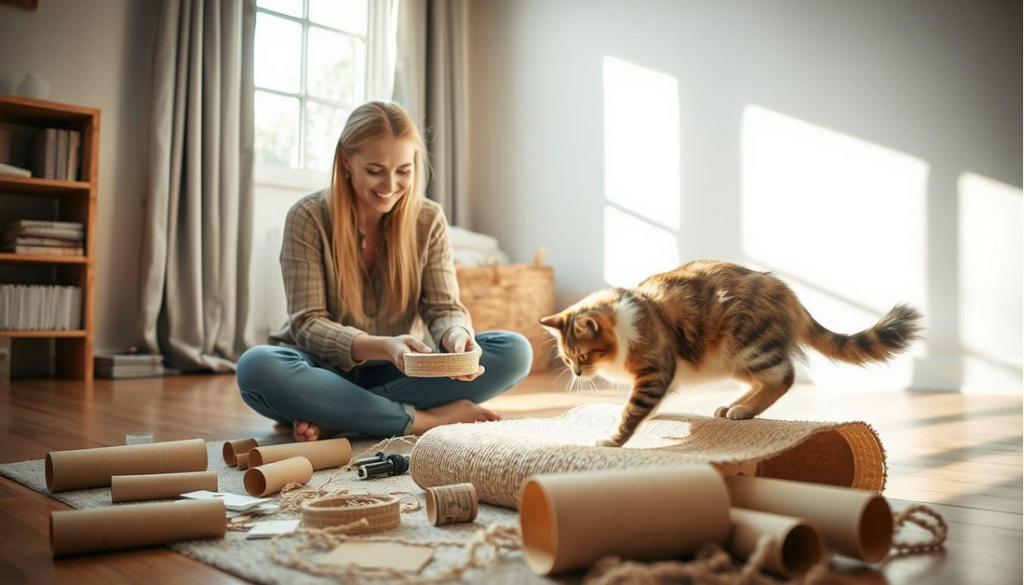
DIY Cat Scratchers That Save You Money: Rope and Sisal Projects
Transforming your home into a cat-friendly zone doesn’t have to break the bank with these rope and sisal DIY cat scratcher projects. Cats need to scratch to maintain their nails and stretch, and providing them with appropriate scratching surfaces can save your furniture from damage. Rope and sisal are durable materials that cats love to scratch, making them ideal for DIY projects.
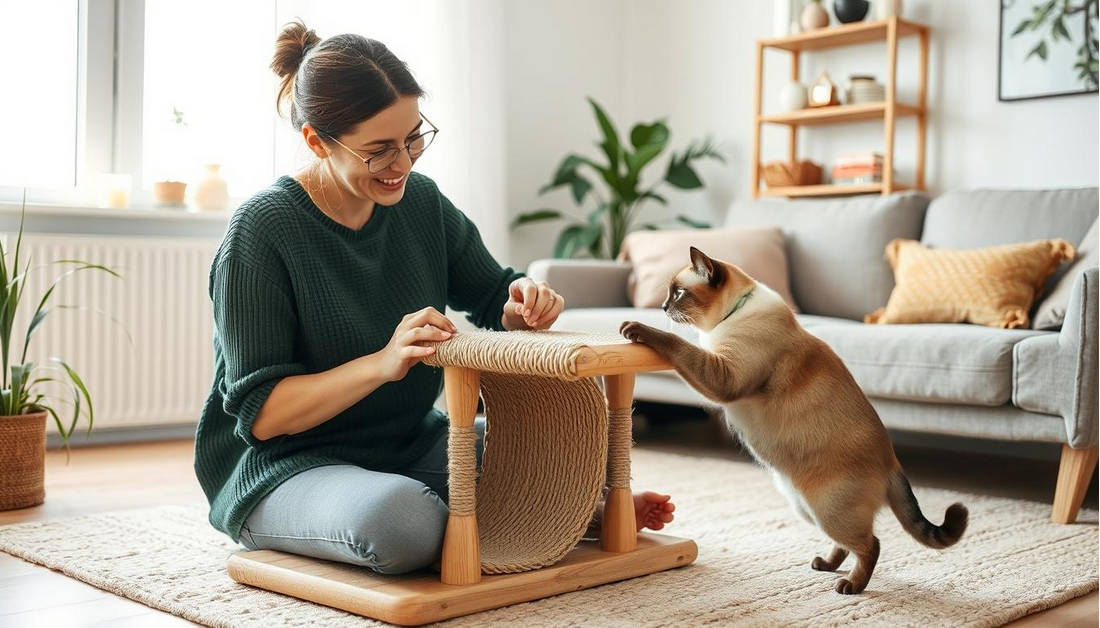
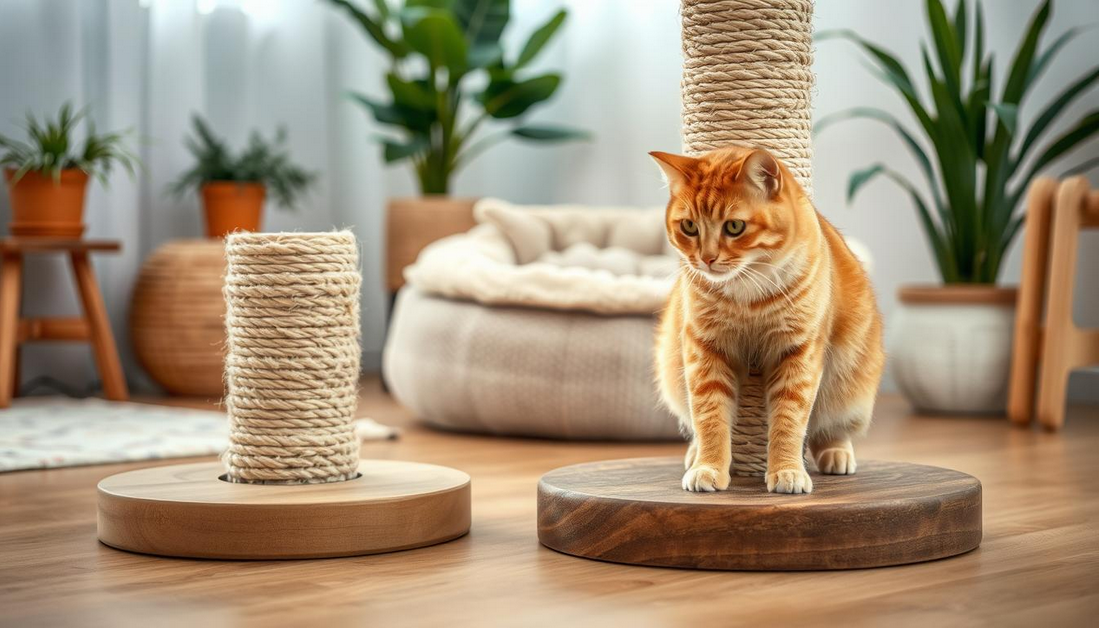
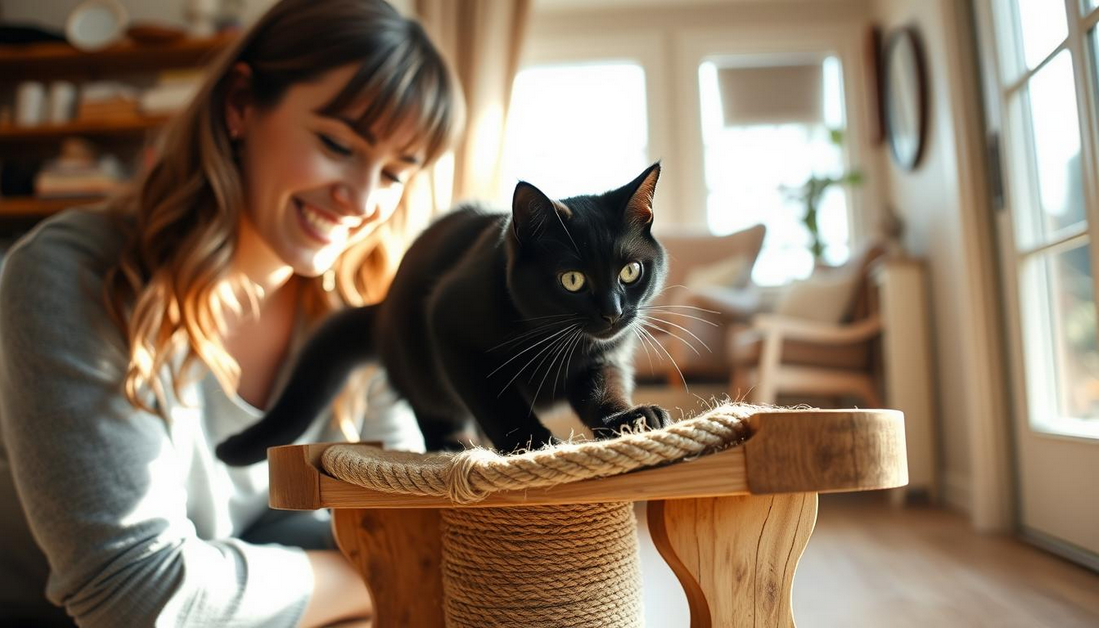
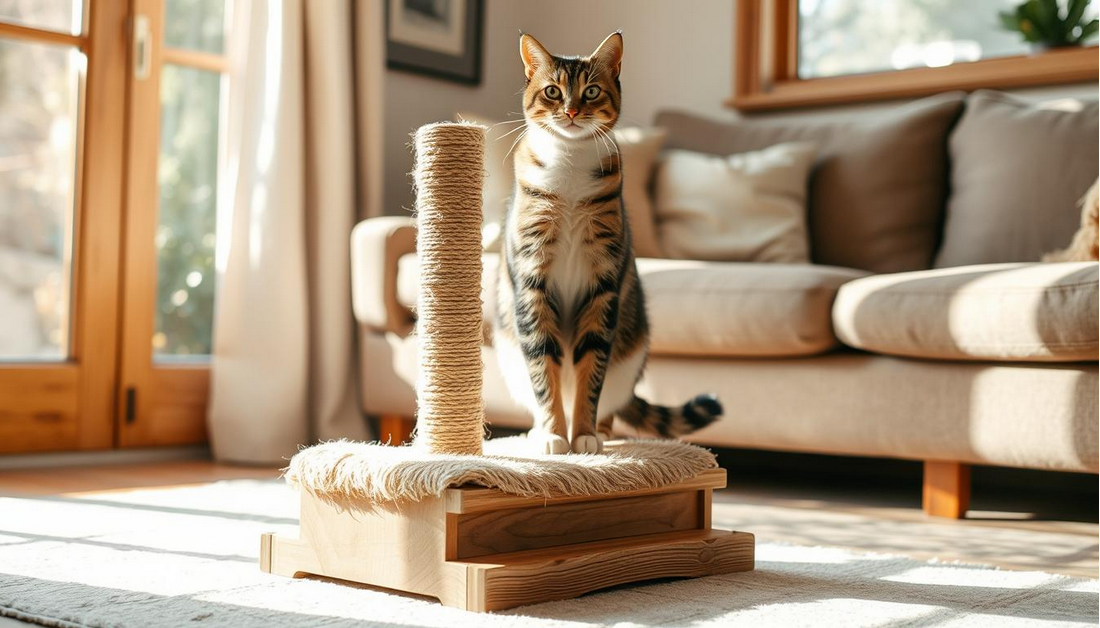
Step-by-Step Guide to Sisal-Wrapped Posts
Creating a sisal-wrapped post is a simple and effective way to give your cat a scratching surface. Start by selecting a sturdy post, then wrap it with sisal rope, securing it with glue or staples. This project is not only budget-friendly but also customizable to fit your home decor.
To make it even more appealing, you can add catnip to the sisal rope. Here’s a basic guide:
- Select a wooden post or a PVC pipe.
- Wrap the post with sisal rope, overlapping the rope as you go to ensure complete coverage.
- Secure the rope with glue or staples.
- Optional: Add catnip to the rope for extra attractiveness.
Space-Saving Door-Hanging Rope Scratchers
For those with limited space, a door-hanging rope scratcher is a perfect solution. This project involves hanging a rope or sisal-covered board over a door, providing a vertical scratching surface for your cat. It’s easy to make and doesn’t require any permanent installation.
A simple table to compare different materials for door-hanging scratchers:
| Material | Durability | Cost |
|---|---|---|
| Rope | High | Low |
| Sisal | Very High | Moderate |
| Carpet | Moderate | Low |
Replacing Carpet with Sisal: Stair and Wall Scratchers
Replacing old carpet with sisal on stairs or walls can provide your cat with a large, durable scratching surface. Sisal is more resistant to cat scratching than carpet and can be a stylish addition to your home.
“Cats prefer scratching surfaces that allow them to stretch and dig their claws. Sisal and rope provide the perfect texture for this natural behavior.”
To enhance the durability and appeal, consider the following:
- Use high-quality sisal that’s tightly woven.
- Secure the sisal firmly to the surface to prevent it from coming loose.
- Place the scratcher in a high-traffic area where your cat spends most of its time.
By incorporating these DIY rope and sisal cat scratcher projects into your home, you can save money and provide your cat with the scratching surfaces they need. Whether you choose to wrap a post with sisal, hang a rope scratcher on your door, or replace carpet with sisal on your stairs or walls, your cat will appreciate the effort and your furniture will thank you.
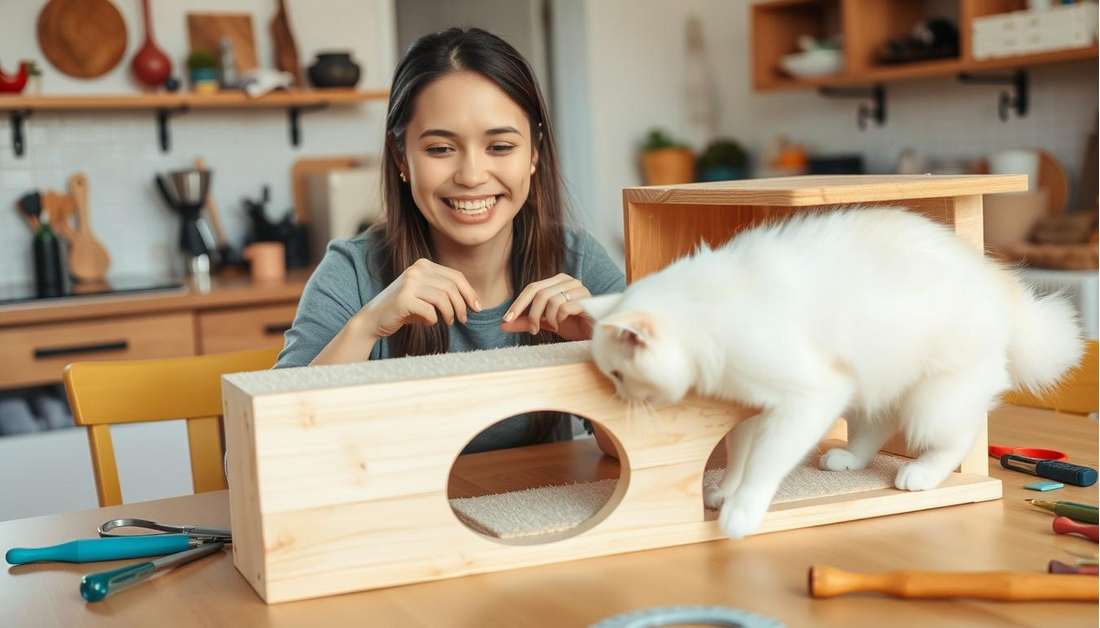
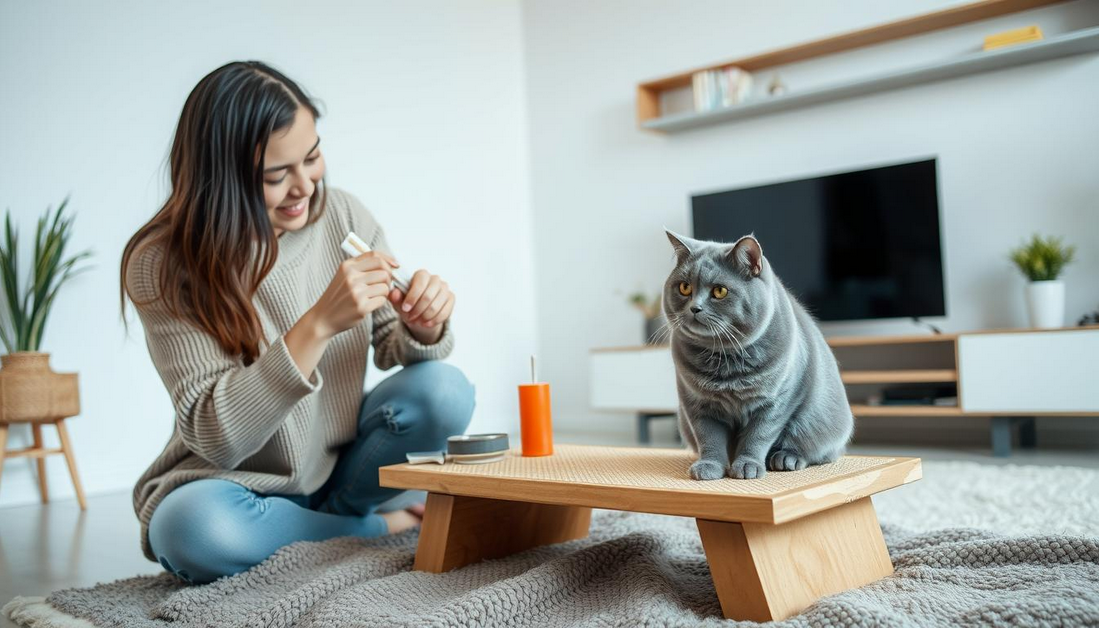
Wooden Cat Scratcher Projects for Different Skill Levels
For cat owners looking to combine DIY skills with their pet’s needs, wooden cat scratchers offer a versatile and rewarding project. Wooden cat scratchers are a durable and aesthetically pleasing alternative to commercial scratchers, allowing cat owners to tailor the design and functionality to their pet’s preferences.
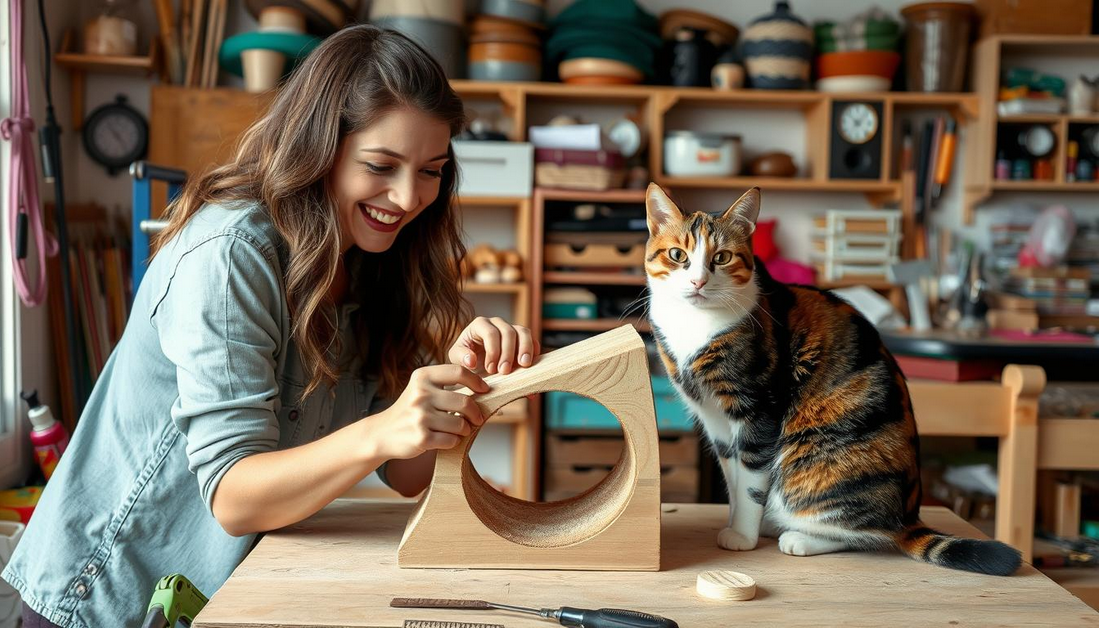
Beginner-Friendly Wooden Scratch Board with Angled Design
A simple yet effective project for beginners is the angled wooden scratch board. This design allows cats to scratch comfortably while providing stability. To build this, you’ll need a wooden plank, some sisal rope, and basic carpentry tools. The angled design helps to keep the scratching surface clean and reduces wear on your cat’s nails.
Intermediate Project: Wooden Cat Tree with Multiple Scratching Surfaces
For those with intermediate DIY skills, a wooden cat tree offers a challenging yet rewarding project. This can include multiple scratching surfaces, perches, and even hideaways. Using solid wood and incorporating different textures like sisal or carpet, you can create a comprehensive cat activity center that serves multiple purposes.
Advanced Build: Combination Window Perch and Vertical Scratcher
Advanced DIY enthusiasts can tackle a combination window perch and vertical scratcher. This project involves more complex carpentry, including secure mounting to a window frame and designing a sturdy vertical scratching post. The result is a multi-functional piece that provides your cat with a viewing platform and a scratching outlet.
Regardless of your DIY skill level, there’s a wooden cat scratcher project that can meet your needs and provide your cat with a durable, appealing scratching solution.
Upcycled and Recycled Materials for Eco-Friendly Cat Scratchers
Upcycling and recycling materials to create cat scratchers is an innovative approach that benefits both your cat and the environment. By giving new life to discarded materials, you can create unique, eco-friendly cat scratchers that are not only good for the planet but also provide your feline friend with a stimulating scratching experience.
One of the most significant advantages of using upcycled and recycled materials is the reduction in waste. Many materials that would otherwise end up in landfills can be repurposed into cat scratchers, reducing the need for new, resource-intensive materials.
Transforming Old Furniture into Premium Cat Scratchers
Old furniture can be transformed into premium cat scratchers with a bit of creativity. For example, an old wooden chair or table leg can be repurposed into a sturdy cat scratching post. Simply wrapping the leg with sisal rope or carpet remnants can create a durable scratching surface.
Benefits of Upcycling Furniture:
- Reduces waste by reusing existing materials
- Can be customized to fit your home decor
- Provides a unique scratching surface for your cat
Creative Uses for Carpet Remnants and Samples
Carpet remnants and samples are excellent materials for creating cat scratchers. They come in a variety of textures and can be easily attached to a wooden post or a cardboard base. This not only gives your cat a different scratching experience but also helps in utilizing materials that might otherwise be discarded.
| Material | Benefits | Uses |
|---|---|---|
| Carpet Remnants | Variety of textures, durable | Wrapping around posts, attaching to cardboard bases |
| Sisal Rope | Durable, appealing texture for cats | Wrapping around wooden posts or furniture legs |
| Cardboard | Easily available, eco-friendly | Creating scratching pads, boxes, or tunnels |
From Trash to Treasure: Unexpected Materials for Cat Scratchers
Some of the most creative cat scratchers come from unexpected materials. For instance, an old denim jeans can be repurposed into a cat toy or scratching pad. Similarly, cardboard tubes from paper rolls can be used to create engaging scratching surfaces.
By thinking outside the box and exploring various materials, you can create a variety of eco-friendly cat scratchers that are both fun and functional for your cat.
Maintenance and Longevity of Your Homemade Cat Scratchers
A well-maintained cat scratcher is not only more durable but also healthier for your cat. Regular maintenance can significantly extend the life of your DIY cat scratcher, saving you money and reducing waste.
Extending the Life of Cardboard Scratchers
Cardboard scratchers are a great DIY option, but they can be prone to wear and tear. To extend their life, place them on a stable surface and avoid exposing them to moisture. You can also reinforce the cardboard with additional layers or tape to make it more durable.
Some tips to keep your cardboard scratcher in good condition include:
- Avoiding direct sunlight, which can cause the cardboard to degrade.
- Keeping the scratcher clean by vacuuming or wiping it with a damp cloth.
- Replacing the scratcher when it becomes too worn out.
Refreshing and Repairing Rope and Sisal Projects
Rope and sisal scratchers are popular for their durability and appeal to cats. To maintain these scratchers, regularly inspect them for signs of wear, such as fraying or loose threads. You can refresh the scratcher by tightening the rope or sisal, or by replacing worn-out sections.
Some steps to repair rope and sisal projects include:
- Identifying the worn-out areas and assessing the damage.
- Tightening or re-wrapping the rope or sisal as needed.
- Securing any loose ends with glue or staples.
When to Replace vs. When to Refurbish
Knowing when to replace or refurbish your cat scratcher is crucial for maintaining its effectiveness. If the scratcher is only slightly damaged, refurbishing might be the best option. However, if it’s severely damaged or has been used extensively, it might be time to replace it.
Consider the following factors when deciding:
- The extent of the damage.
- The age of the scratcher.
- Your cat’s usage and preferences.
Training Your Cat to Use Their New DIY Scratcher
The key to successfully integrating a DIY cat scratcher into your home lies in training your cat to use it. Understanding and leveraging your cat’s natural scratching behavior is crucial for a smooth transition.
Strategic Placement: Location Matters for Success
Placing the DIY scratcher in a strategic location can significantly influence your cat’s willingness to use it. Cats often prefer scratching in areas where they rest or play, so positioning the scratcher near their favorite sleeping spots or along common pathways can encourage its use.
Consider the layout of your home and the material of the scratcher. For instance, a sisal rope scratcher might be more appealing in a high-traffic area, while a cardboard scratcher could be ideal near a cozy corner.
| Location | Scratcher Type | Success Rate |
|---|---|---|
| Near Sleeping Spots | Sisal Rope | High |
| High-Traffic Areas | Cardboard | Medium |
| Quiet Corners | Carpeted Posts | Low |
Effective Use of Catnip, Silvervine, and Other Attractants
Attractants like catnip and silvervine can be powerful tools in training your cat to use their new scratcher. Sprinkling catnip on the scratcher or rubbing it with silvervine can make the scratcher more appealing to your cat.
Tips for Using Attractants:
- Start with a small amount to gauge your cat’s reaction.
- Reapply attractants periodically to maintain interest.
- Combine different attractants for a unique scent.
Positive Reinforcement Techniques for Scratch Training
Positive reinforcement is a valuable technique for encouraging your cat to use their scratcher. Rewarding your cat with treats or praise when they use the scratcher correctly can reinforce the behavior.
Be consistent and patient, as training may take time. Avoid punishing your cat for not using the scratcher, as this can create negative associations.
Conclusion: Protecting Your Furniture While Saving Money
Creating your own DIY cat scratchers is a simple and effective way to save money while protecting your furniture from damage. By understanding your cat’s scratching behavior and using readily available materials, you can create customized scratchers that meet your cat’s needs.
DIY cat scratchers that save you money are not only budget-friendly but also allow for creativity and flexibility. Whether you opt for a simple cardboard scratcher or a more elaborate wooden cat tree, you can rest assured that you’re providing your cat with a healthy outlet for their natural scratching instinct.
By choosing frugal cat scratcher solutions, you’re also contributing to a more sustainable lifestyle. Protecting furniture from cats is a significant benefit, as it reduces the need for costly repairs or replacements. With a little creativity and some basic materials, you can create a cat-friendly home that benefits both you and your pet.
By adopting these DIY solutions, cat owners can enjoy the companionship of their pets while maintaining a beautiful and intact home. Save money cat owners will appreciate the cost-effectiveness of these projects, making it a win-win for everyone involved.